Fly Fishing Guide on West Michigan Rivers
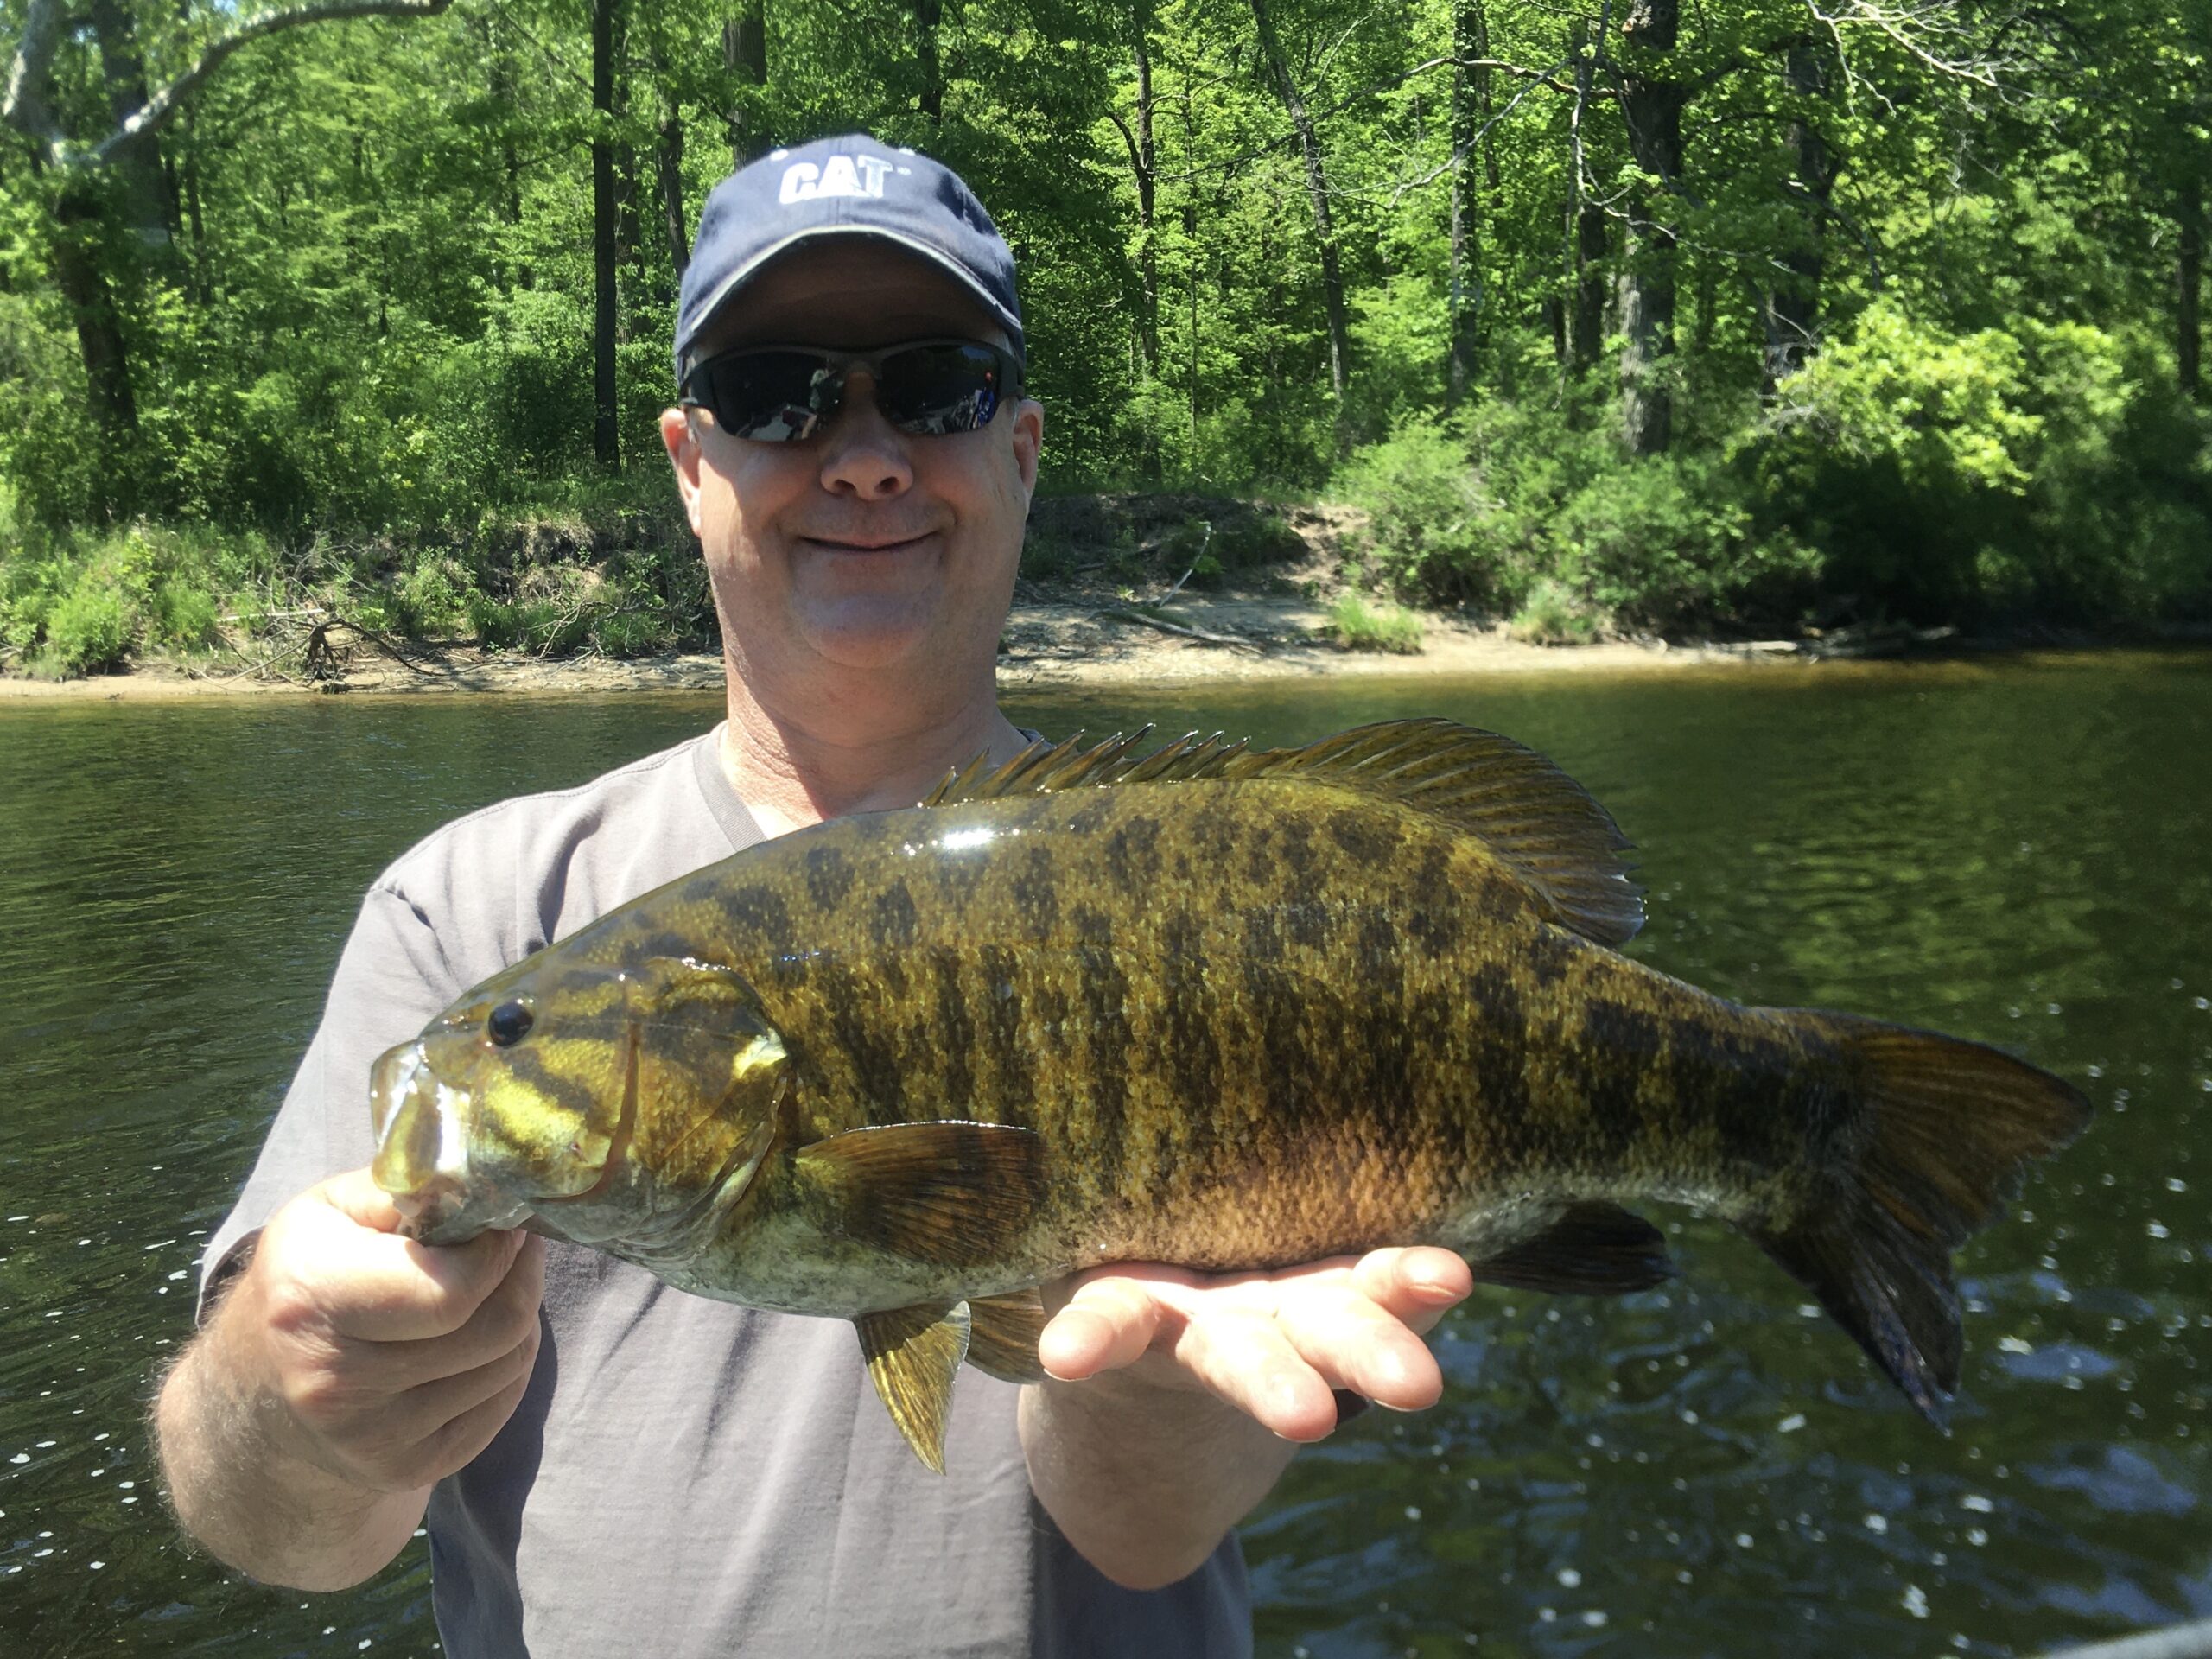
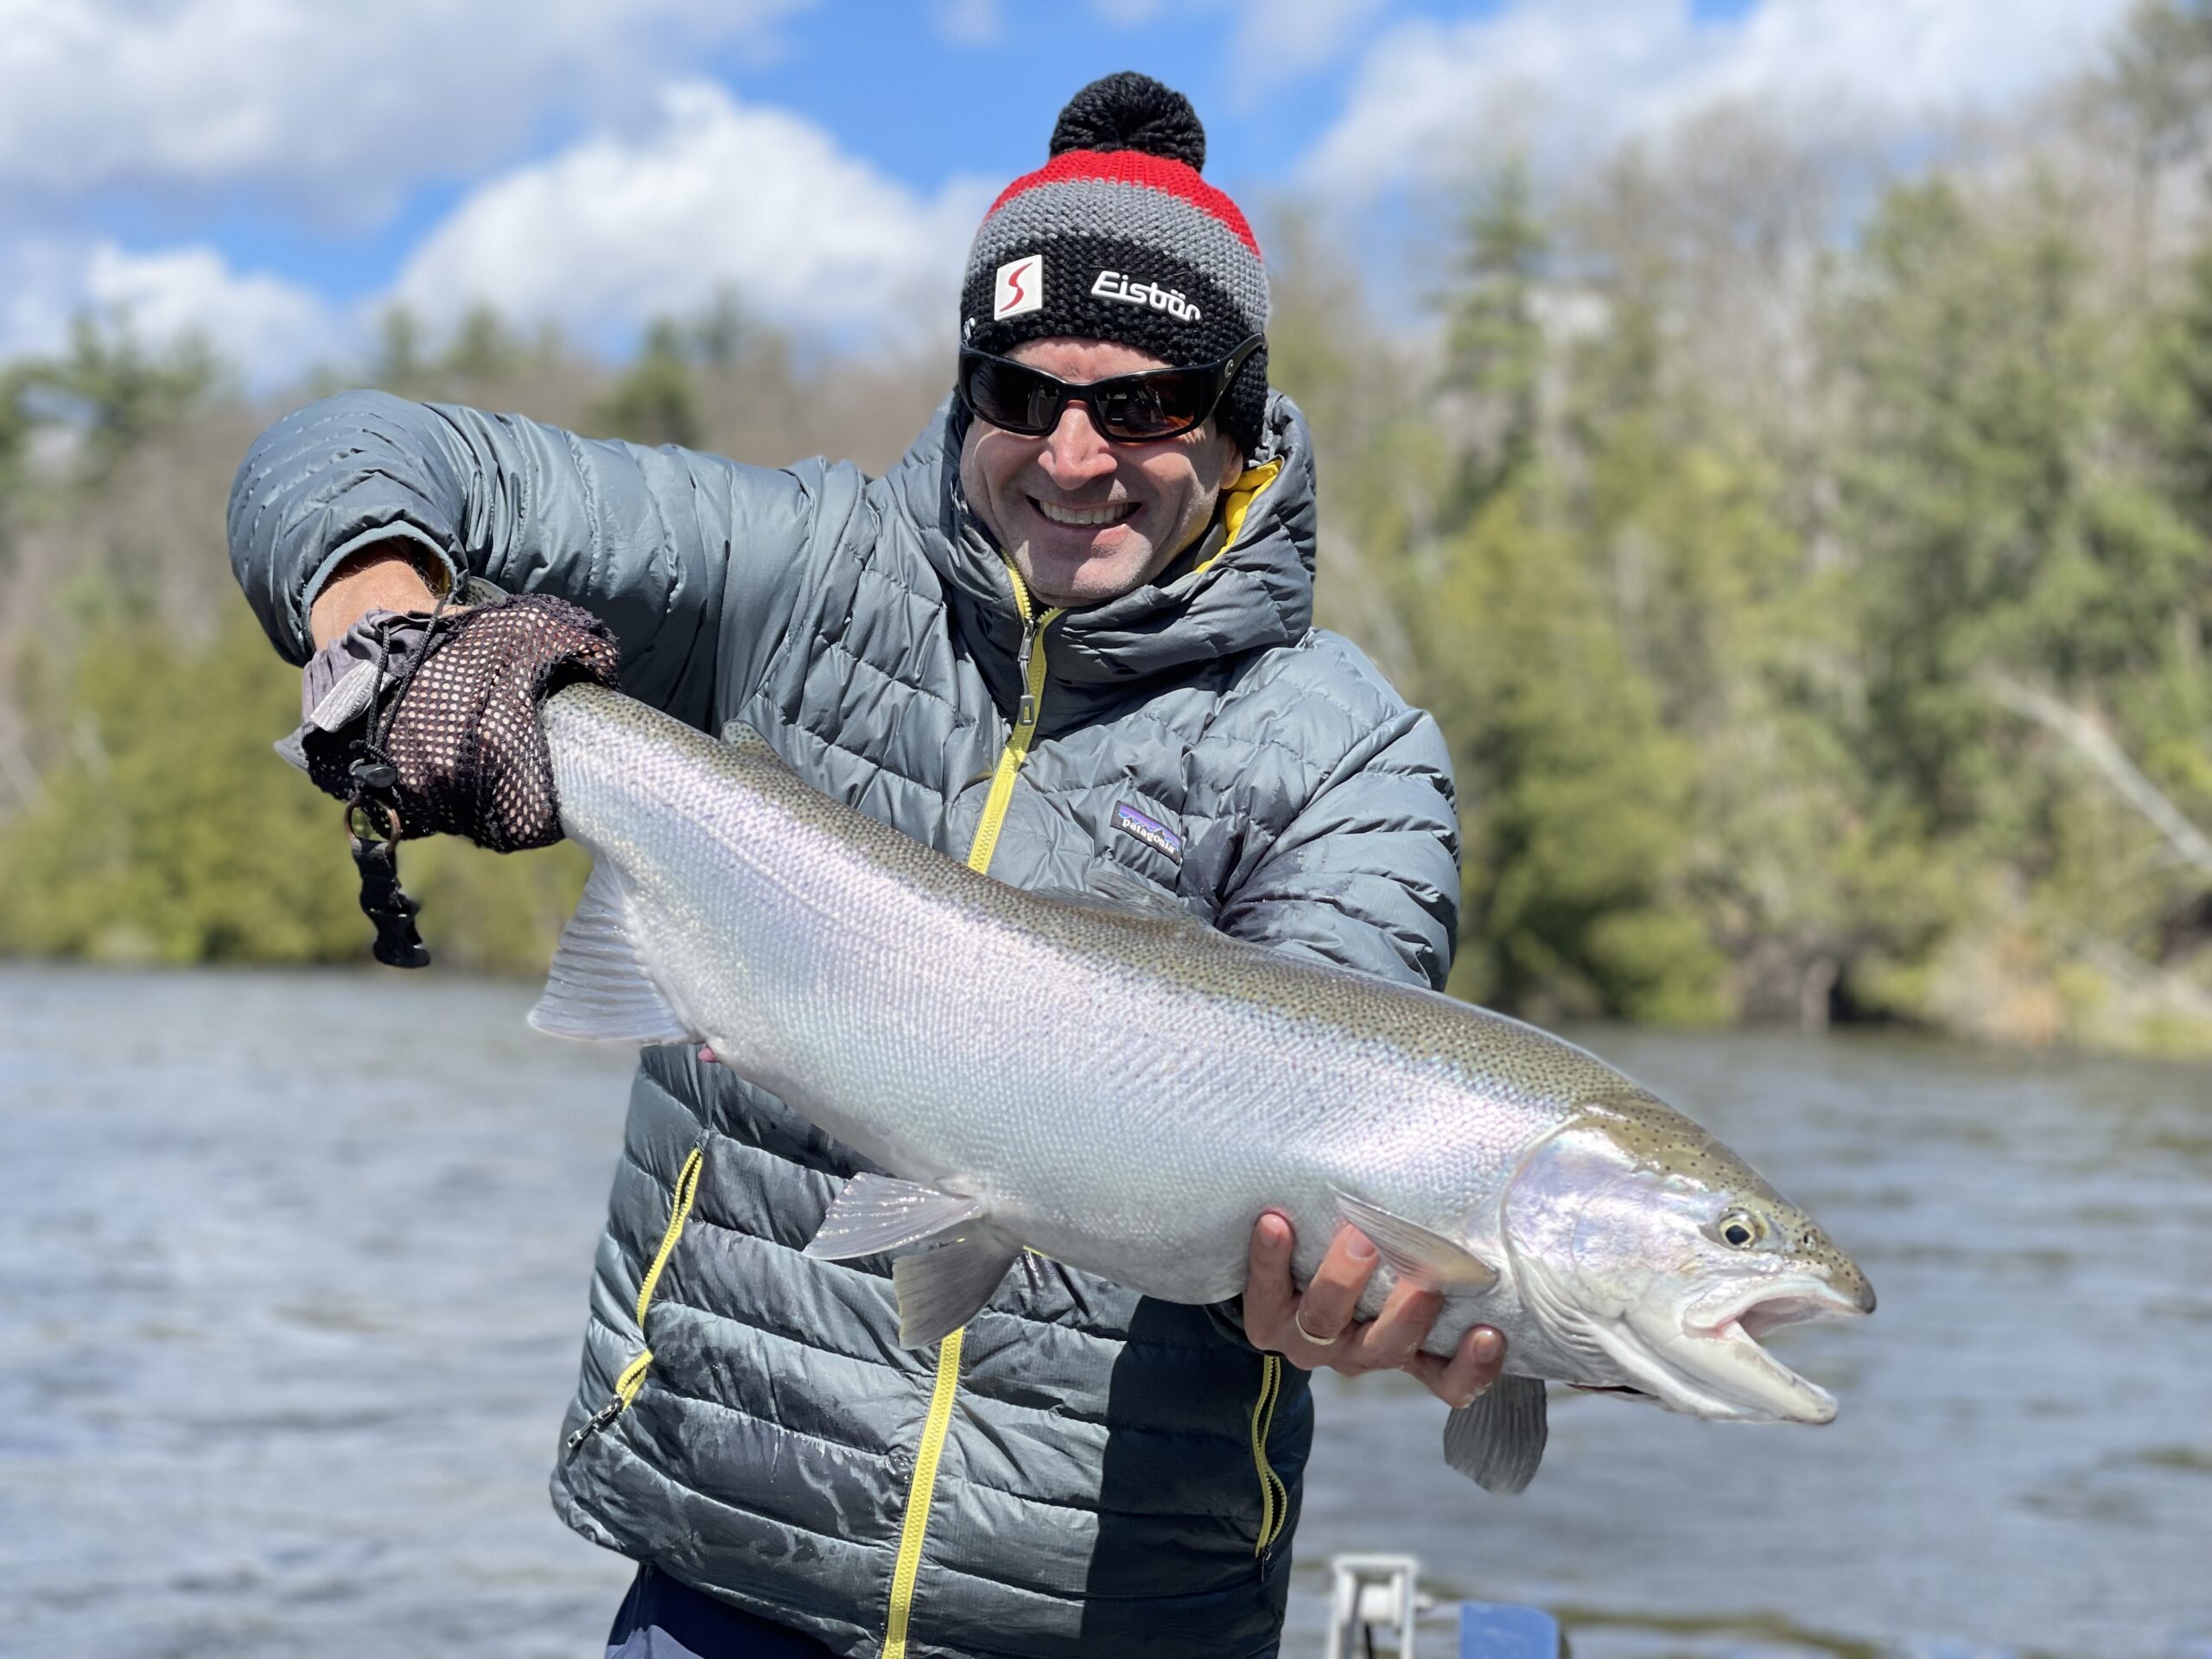
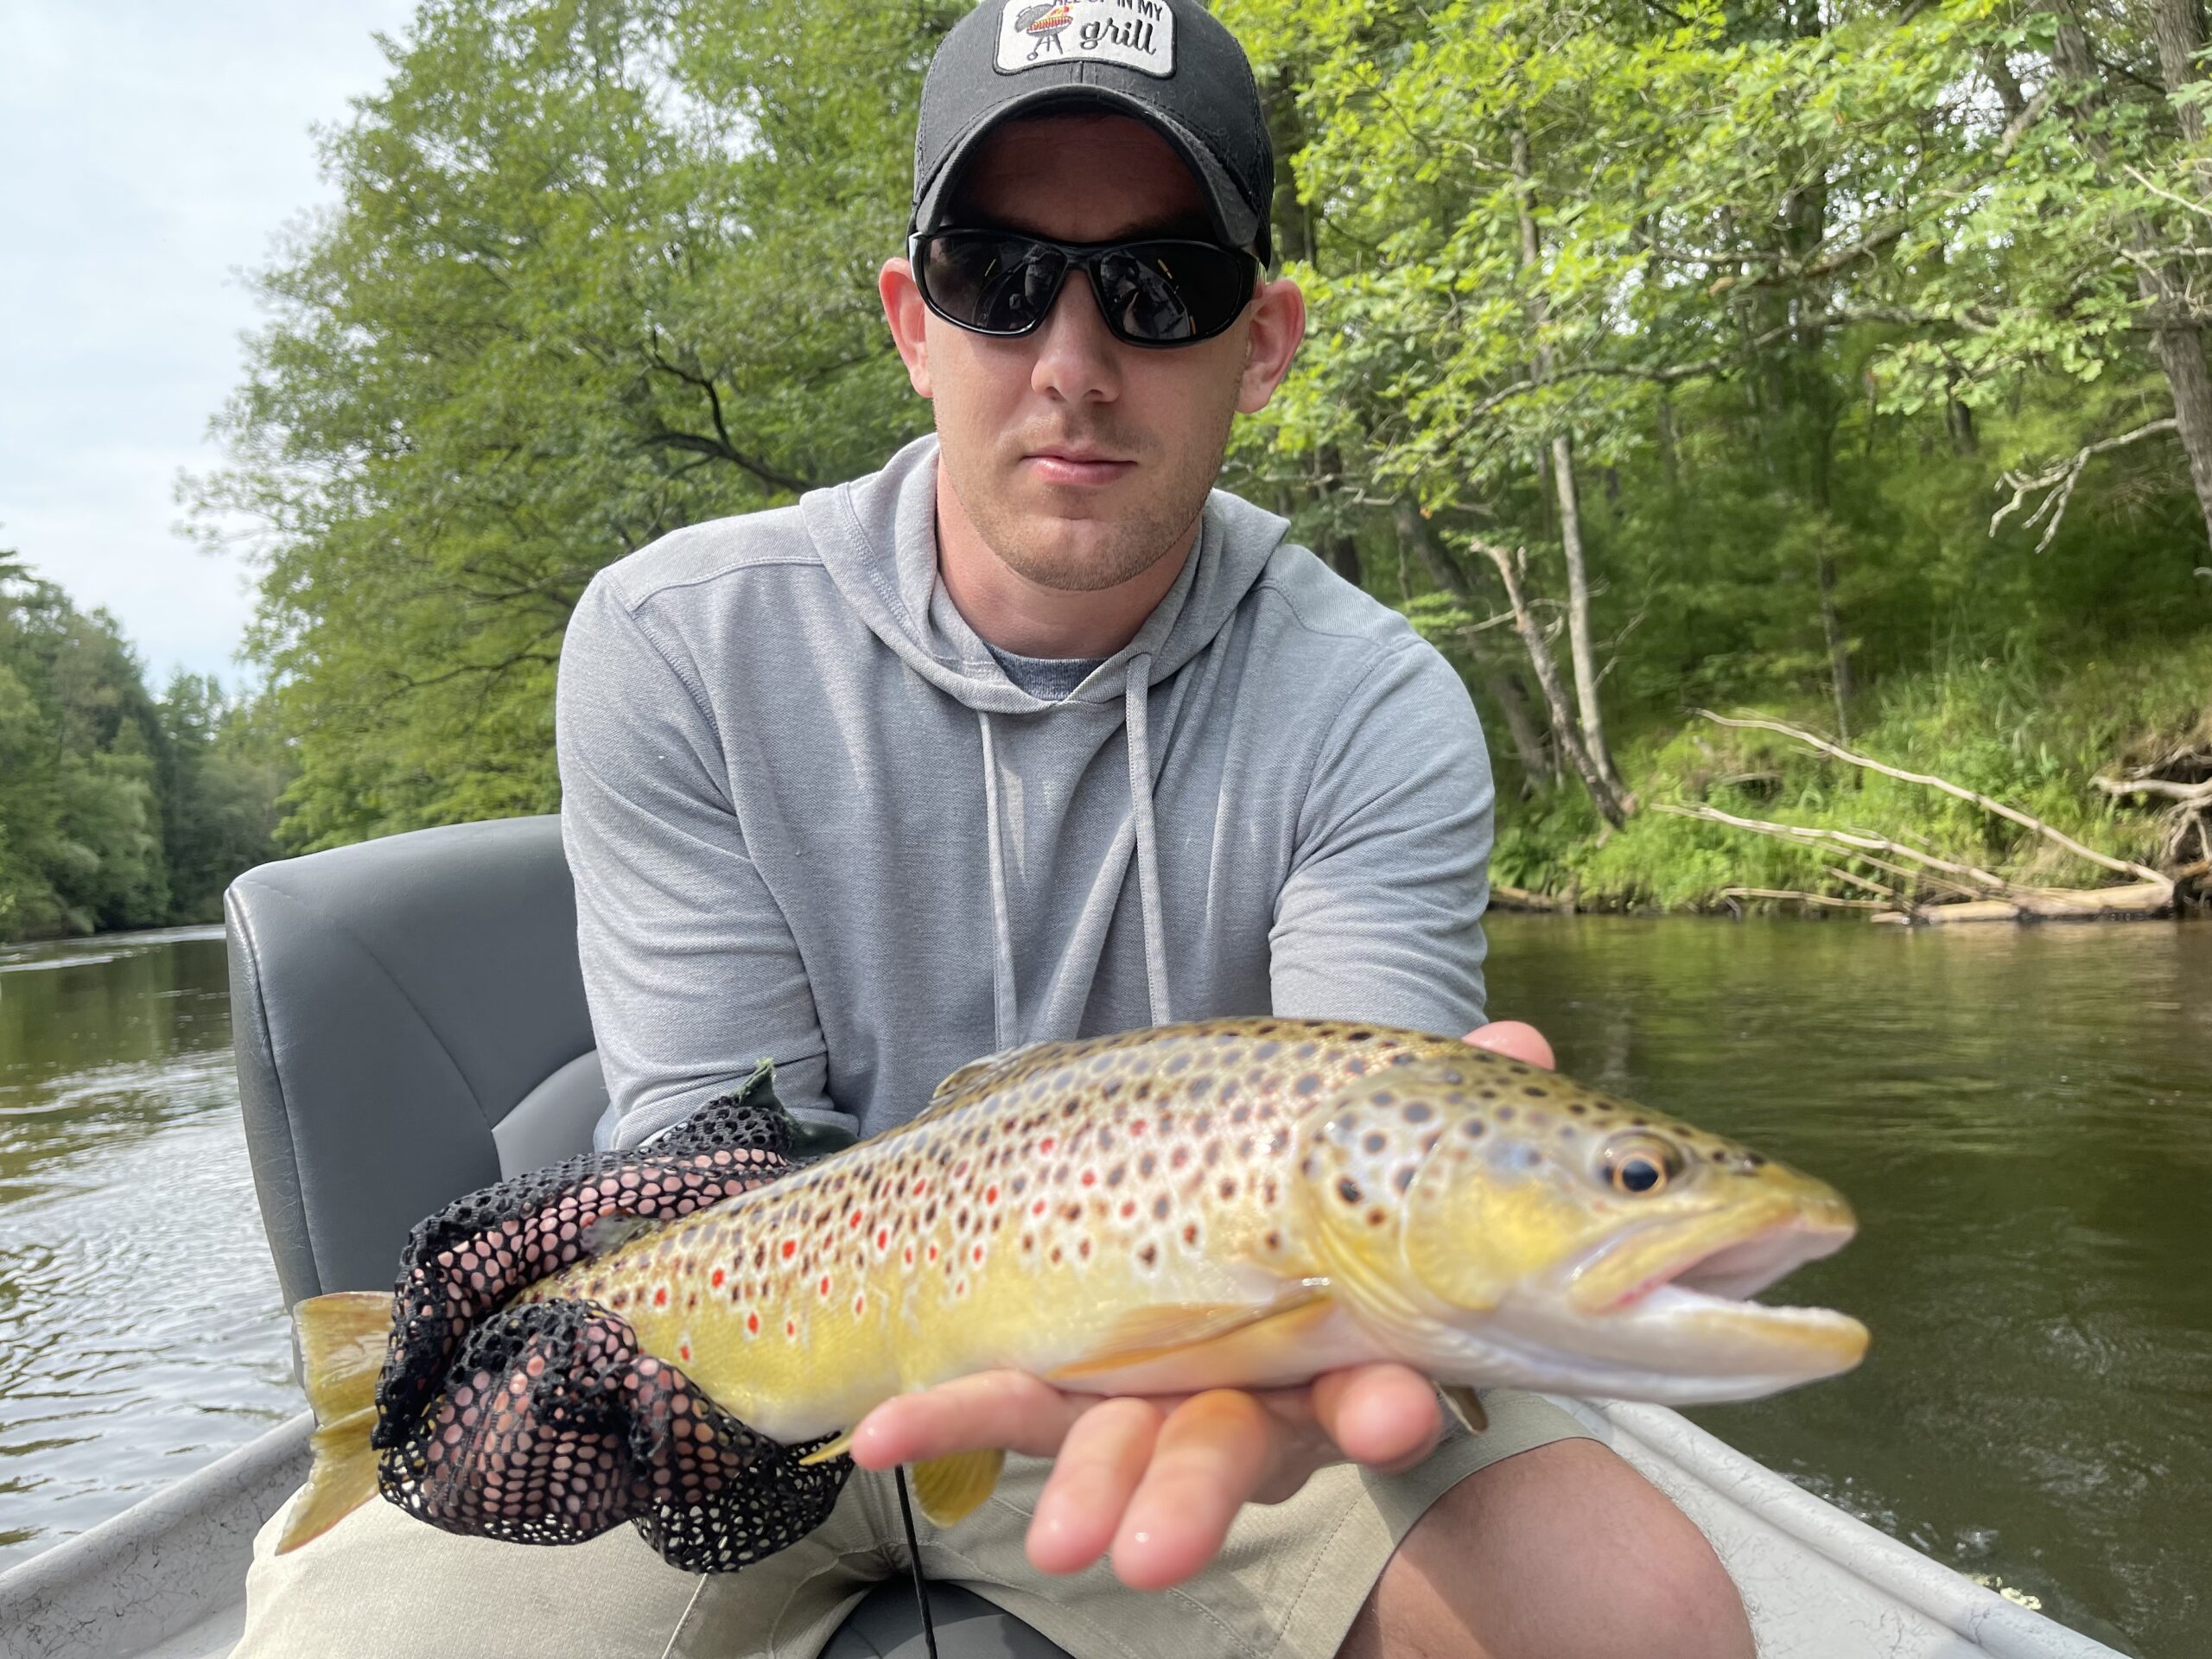
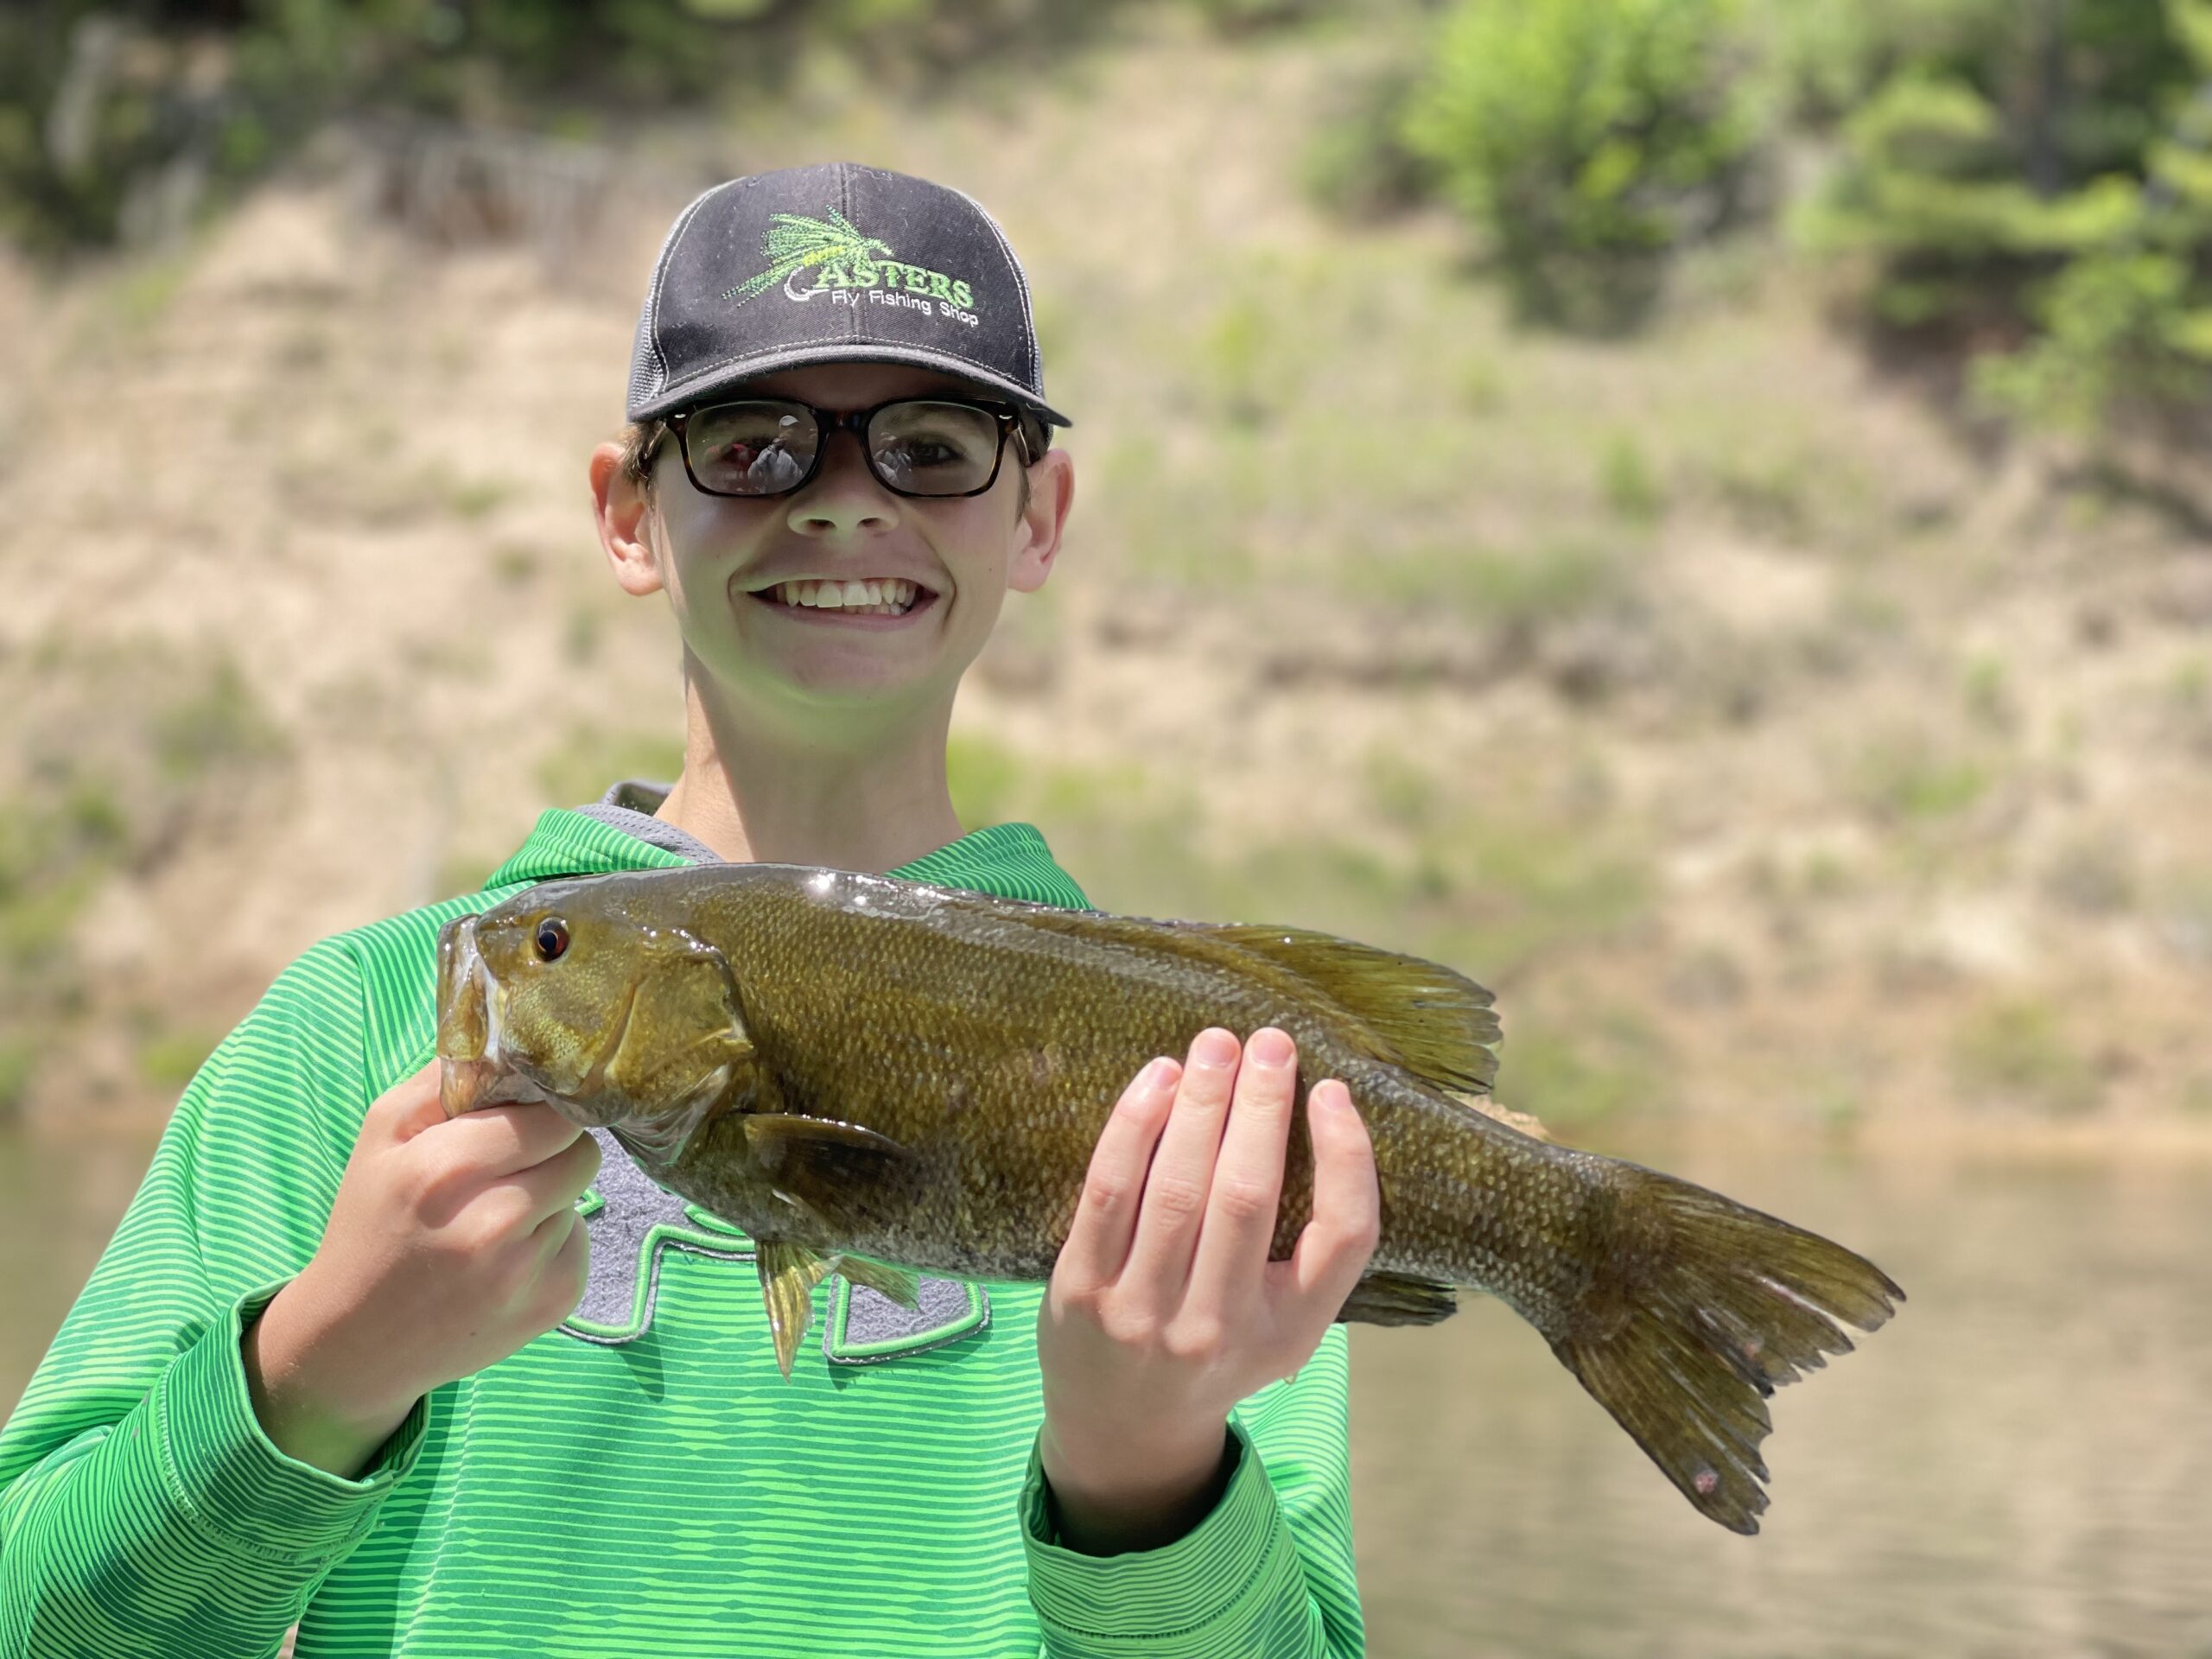
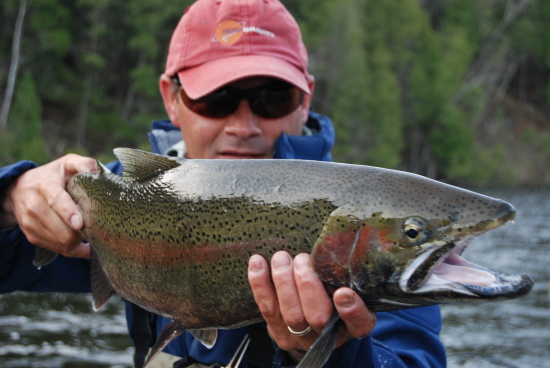
Join U.S.C.G. Captain and 20+ year guide Jeff Bacon for an outing on a west Michigan river in pursuit of Salmon, Steelhead, Rainbow and Brown trout, as well as Smallmouth Bass. Year round guided fishing trips with fly fishing or light spin tackle equipment, all experience levels welcome.
Michigan River Guide For Salmon, Steelhead, Trout & Smallmouth Bass
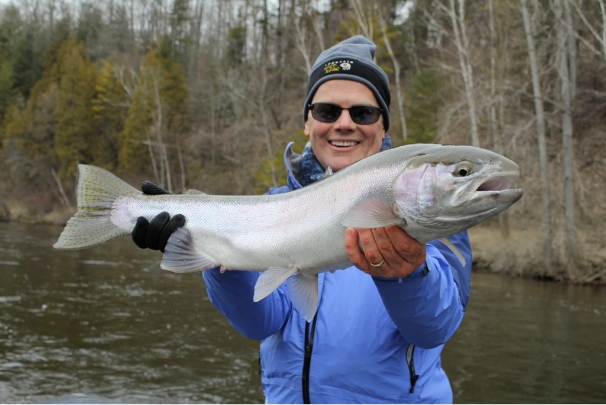
Reserve your all inclusive, guided river fishing trip to pursue Salmon, Steelhead, Brown & Rainbow Trout, as well as Smallmouth Bass.
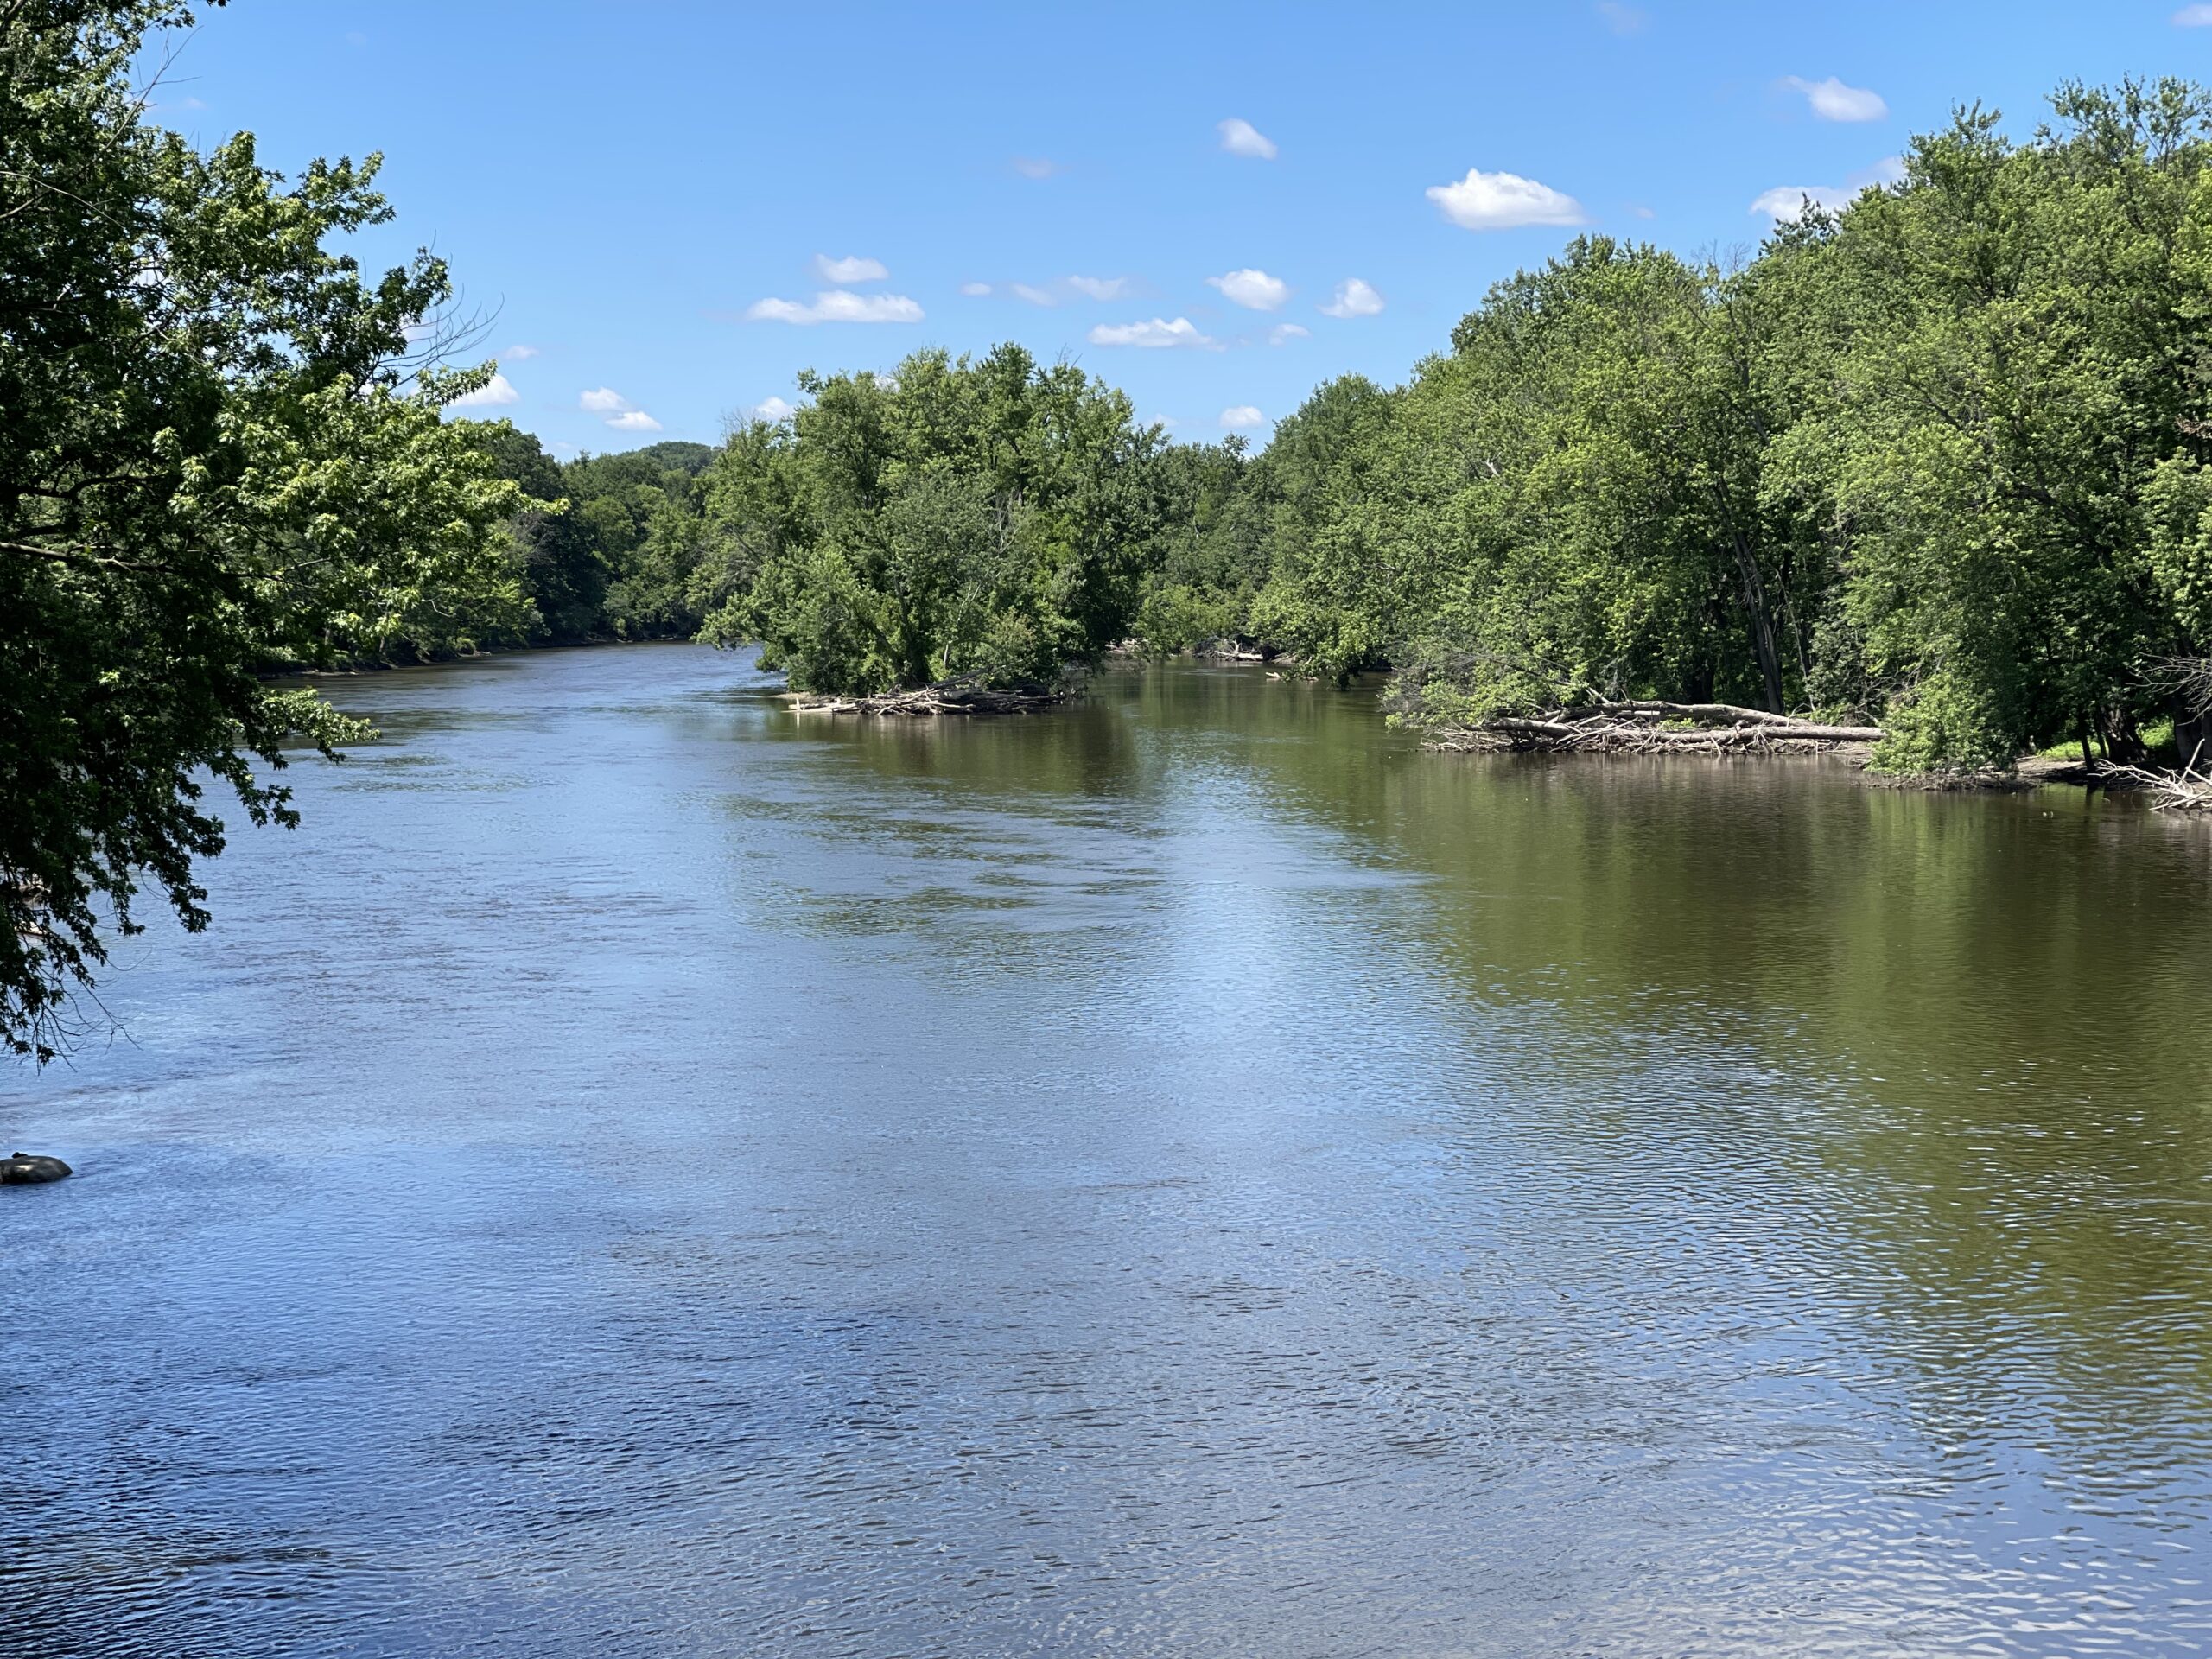
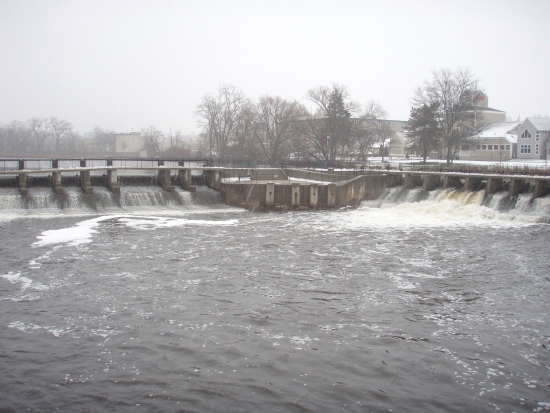
With several rivers to choose from based on time of year and fishing conditions, we can use either fly fishing or light spin tackle equipment to fish the Muskegon, Grand, Pere Marquette, Manistee, White and Flat rivers in west Michigan, enjoying a day on the river and catching fish. From beginner to advance angler, all skill and experience levels welcome and group outings are easy to arrange with the services of long time, fellow guides I regularly call on to help out with larger group trips.
About Your GuideFish We Catch

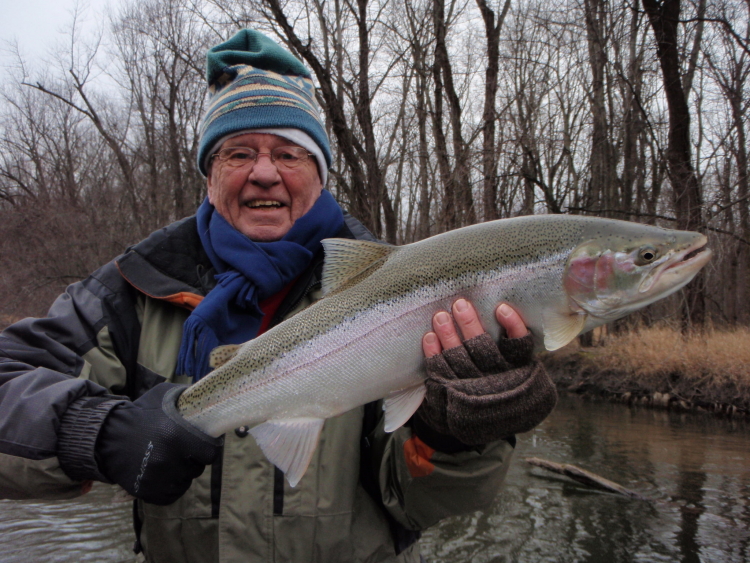

Recent Fishing Reports
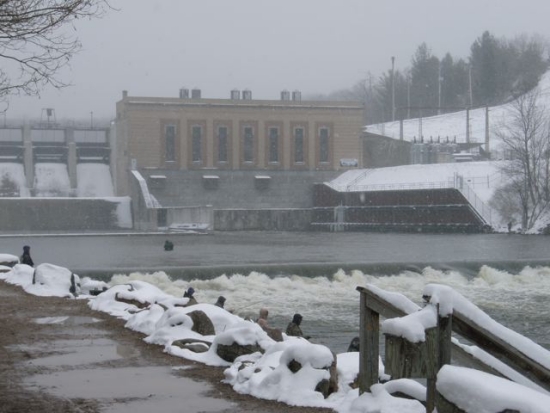
Muskegon River Fishing Report – April 15, 2024 – Newaygo, Michigan
– April 15, 2024 –
Muskegon River Fishing Report – March 31, 2024 – Newaygo, Michigan
– March 31, 2024 –
Muskegon River Fishing Report – March 4, 2024 – Newaygo, Michigan
– March 4, 2024 –
Contact Us
From individual instruction to group outings, most any request can be accommodated
View Rates